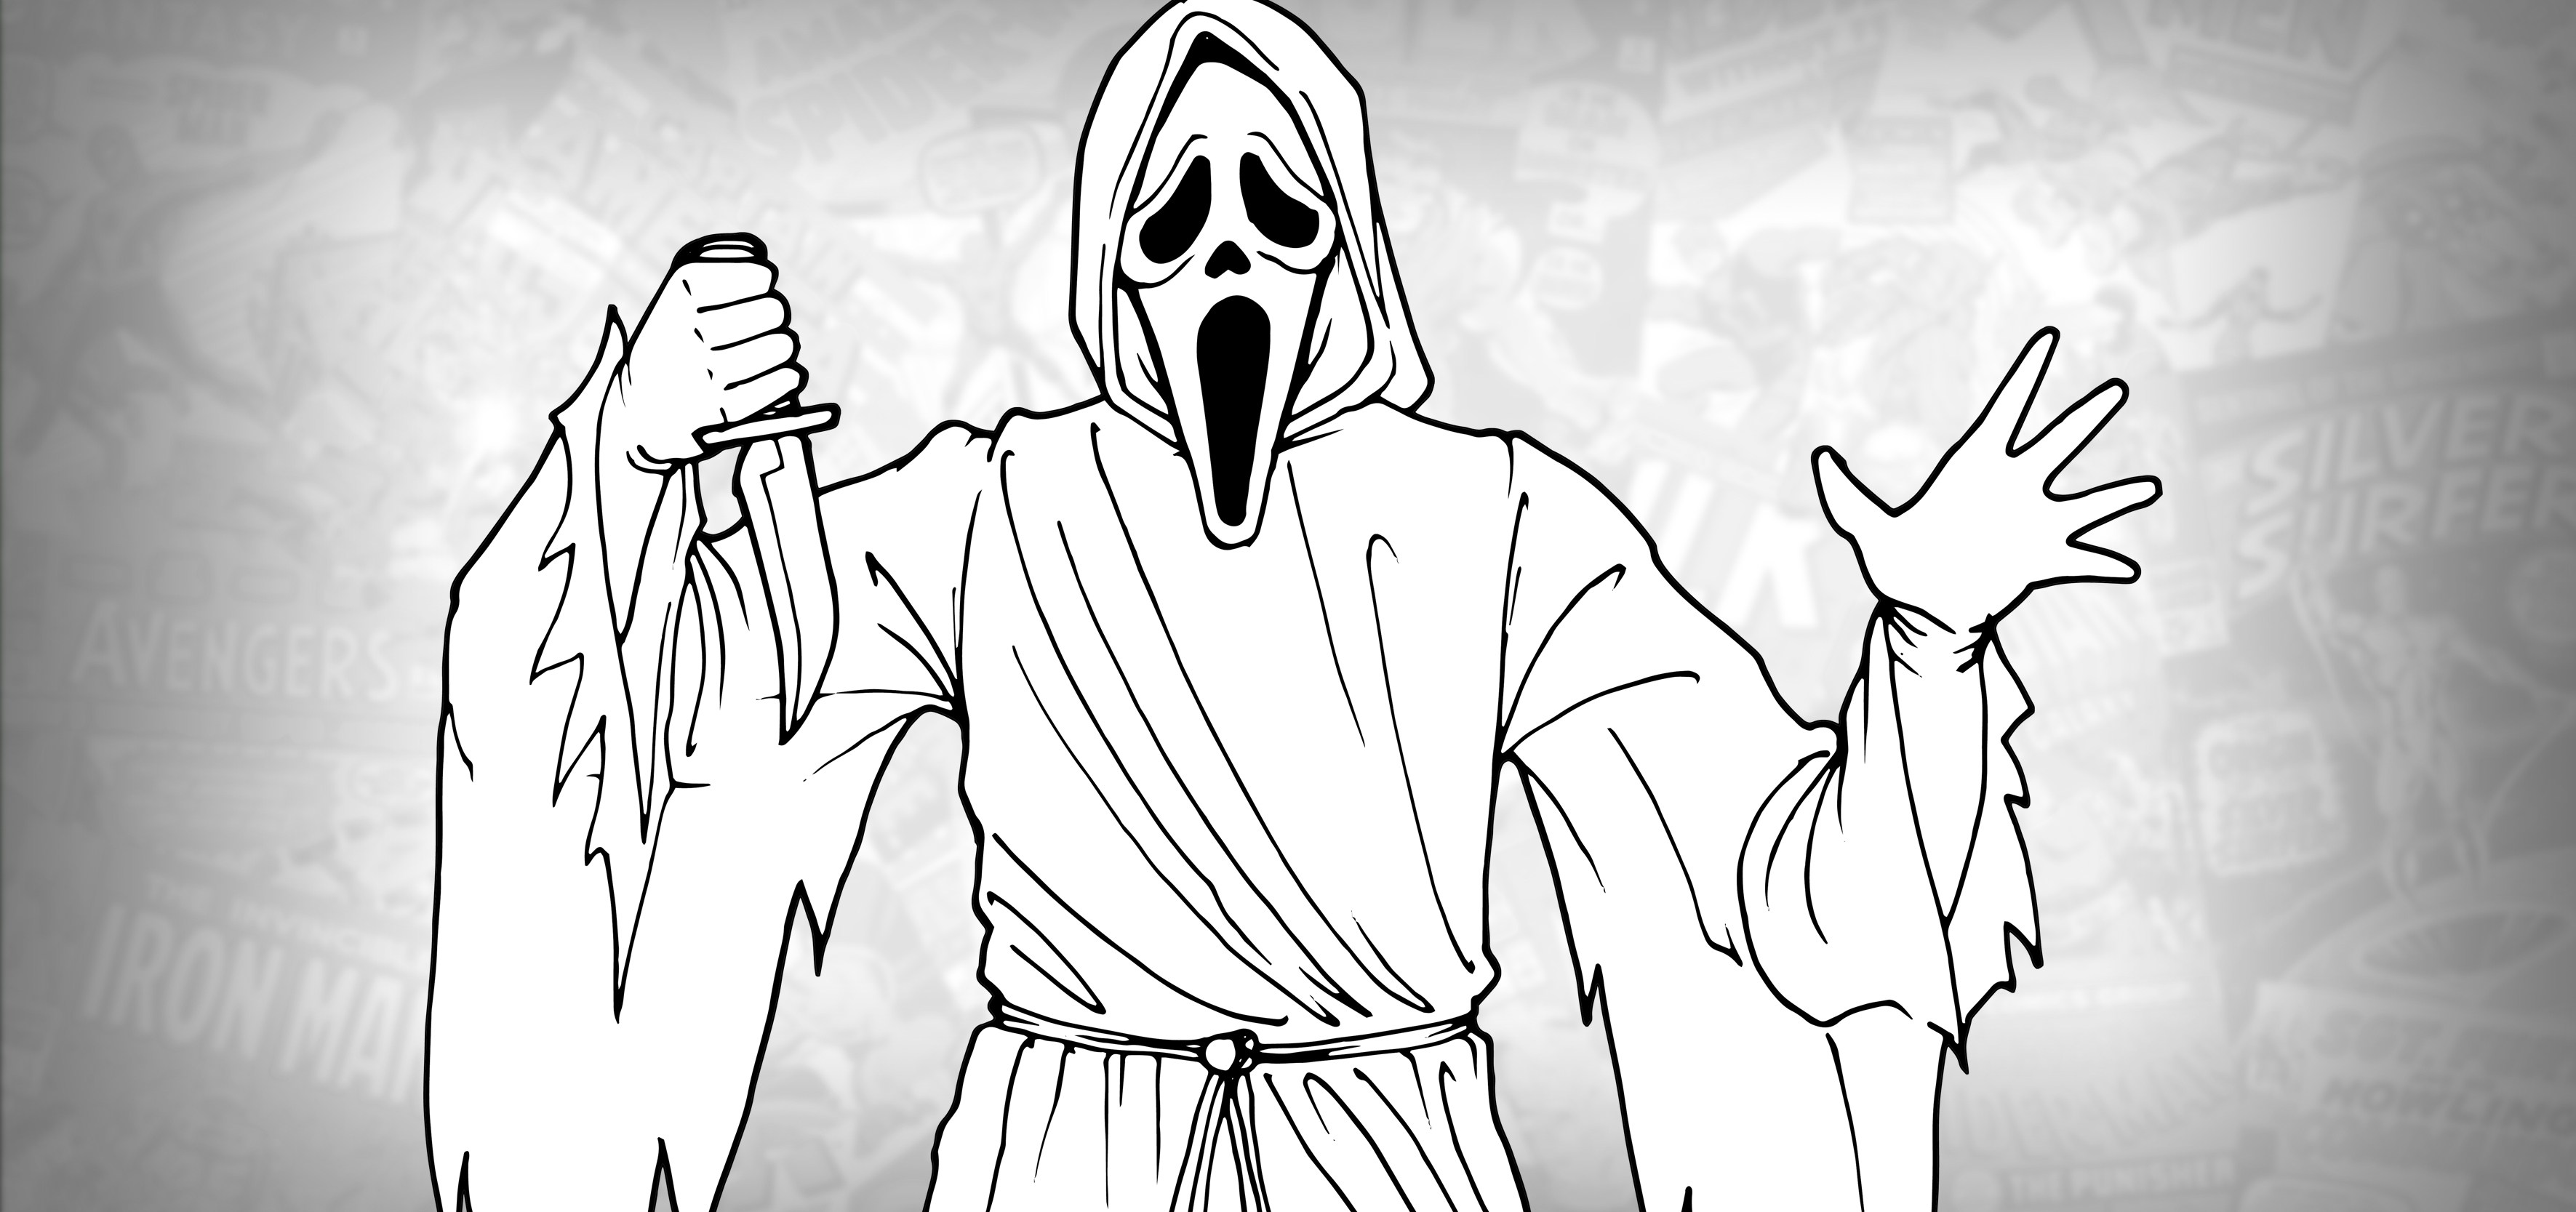
Ever tried to sketch that iconic mask and ended up with something that looks more like a melting marshmallow than a terrifying slasher icon? You aren't alone. Honestly, a pencil ghost face drawing is deceptive. It looks simple—just some black holes in a white oval—but the geometry of Wes Craven’s "Scream" villain is actually a nightmare of perspective and lighting.
It’s iconic. It’s spooky. It’s surprisingly hard to get right.
Most people dive in with a HB pencil and start scratching out the eyes. Stop. That’s why it looks flat. If you want to capture the "Father Death" mask (the original name for the Fun World costume), you have to understand that you aren't drawing a face. You’re drawing plastic. Specifically, you’re drawing the way light hits cheap, distorted white vinyl.
The Anatomy of the Mask Nobody Tells You About
The Ghostface mask isn't symmetrical. If you look at the original mask designed by Brigitte Sleiertin at Fun World, it’s got these weird, organic wobbles. To make your pencil ghost face drawing look authentic, you need to ditch the ruler.
Think about the chin. It’s elongated. It’s not just long; it tapers into a soft, rounded point that mimics the "The Scream" painting by Edvard Munch. Most artists make the chin too sharp. If it looks like a "V," it’s wrong. It needs to be a "U" that’s been stretched by a medieval rack.
Then there’s the brow. The "sad-but-angry" look comes from the way the forehead overshoots the eye sockets. In a pencil sketch, this is represented by a heavy shadow right at the top of the black eye holes. If you don't vary your line weight here, the mask loses its expression. It just looks like a bowling ball.
Mastering the "Void" with Graphite
The eyes and mouth of Ghostface are essentially black holes. But in art, "black" isn't just black. If you fill them in with a solid, heavy 6B pencil stroke, you lose the depth.
Basically, you’ve got to leave "ghost" highlights. Even in the darkness of the mouth, there’s usually a tiny bit of reflected light from the bottom lip of the mask. Use a kneaded eraser to dab away just a speck of graphite. It makes the mouth look like a cavernous opening rather than a sticker slapped on paper.
Contrast is your best friend here. Because the mask is white, your paper is doing most of the work. You aren't drawing the mask; you’re drawing the shadows around the mask and the holes within it. It’s negative space 101. If you smudge the edges of the shroud—the black hood—into the white of the mask, you create that cinematic, "looming in the closet" vibe.
Tools That Actually Matter
Don't just grab a yellow No. 2 pencil and expect miracles.
- A 4B or 6B Pencil: You need these for the shroud. You want a black so deep it looks like velvet.
- Blending Stump (Tortillon): Essential for the soft grey shadows on the "cheeks" of the mask. Without this, your Ghostface will look like a cartoon.
- Kneaded Eraser: For those thin highlights on the nose bridge.
Common Mistakes in Ghost Face Sketches
The nose holes. People always mess up the nose holes. On the actual mask, they are two tiny, slanted slits. Beginners often draw them like human nostrils. Don’t do that. They should look like little gashes.
Another thing is the "shroud transition." The black fabric usually wraps tightly around the jawline. If you leave a gap of white between the chin and the black hood, the mask looks like it’s floating. It loses the sense of a person—or a killer—wearing it. You want that tight integration.
And let's talk about the scream itself. The mouth is an elongated oval, but it’s wider at the bottom than the top. Sort of like a pear. If you draw a perfect oval, it looks like the mask is surprised, not haunting. You want it to look like it’s drooping. Gravity is a key element of the Ghostface aesthetic.
Lighting the Slasher
If you’re going for a realistic pencil ghost face drawing, you need a single light source. Imagine a lamp sitting on the floor, shining up. This creates "under-lighting," which is the universal language of horror.
In this scenario, the shadows would be at the top of the eye sockets and the top of the mouth. The chin would cast a long shadow onto the neck of the robe. This adds a level of 3D realism that separates a doodle from a piece of fan art.
Honestly, the best way to practice this is to look at still frames from the 1996 original film. Look at how the shadows fall when he’s standing behind Casey Becker. It’s rarely a full-frontal, evenly lit shot. It’s all about the obscured edges.
Texture and the "Vinyl" Look
Since the mask is plastic, it has a slight sheen. You can achieve this in pencil by leaving thin strips of white paper untouched along the "eyebrows" and the bridge of the nose. These are your specular highlights. If you accidentally color them in, you can use a white gel pen to pop them back in at the end. It’s a bit of a "cheat," but it works wonders for making the drawing look professional.
Steps to Level Up Your Sketch
- Map the tilted oval: Ghostface rarely looks straight at the camera. Tilt the head. It’s scarier.
- Ghost the features: Lightly sketch the eyes and mouth with an H pencil. If they aren't perfectly misaligned, it won't look right.
- The "Black Out": Use your softest pencil (6B) for the eyes. Go dark. Darker than you think you should.
- Shadow Mapping: Use a 2B to add the soft greys around the nose and the "droop" of the cheeks.
- The Shroud: Fill in the hood but leave some "texture" lines to indicate folds in the fabric.
Forget about making it "pretty." Ghostface is messy. He’s a costume from a shop, not a Greek statue. The imperfections are what make it recognizable. If the lines are too clean, it loses the soul of the character.
To really nail the pencil ghost face drawing aesthetic, focus on the weight of the black robe. The fabric shouldn't just be a flat black blob; use different pressures with your pencil to show where the fabric bunches around the neck. This adds a sense of "heft" to the drawing.
Final Actionable Advice
Start by sketching just the eye shapes ten times. Don't worry about the rest of the face. Just get the "droopy teardrop" shape of the eyes down. Once you can do those in your sleep, the rest of the mask falls into place around them. Practice drawing the mask from a side profile too; the way the "nose" of the mask protrudes is a great exercise in forced perspective and shading.
Grab a high-contrast reference photo—specifically one with "Chiaroscuro" lighting—and try to replicate only the darkest shadows first. This "shadow-first" approach prevents you from getting bogged down in outlines that shouldn't actually exist in a finished, realistic piece.