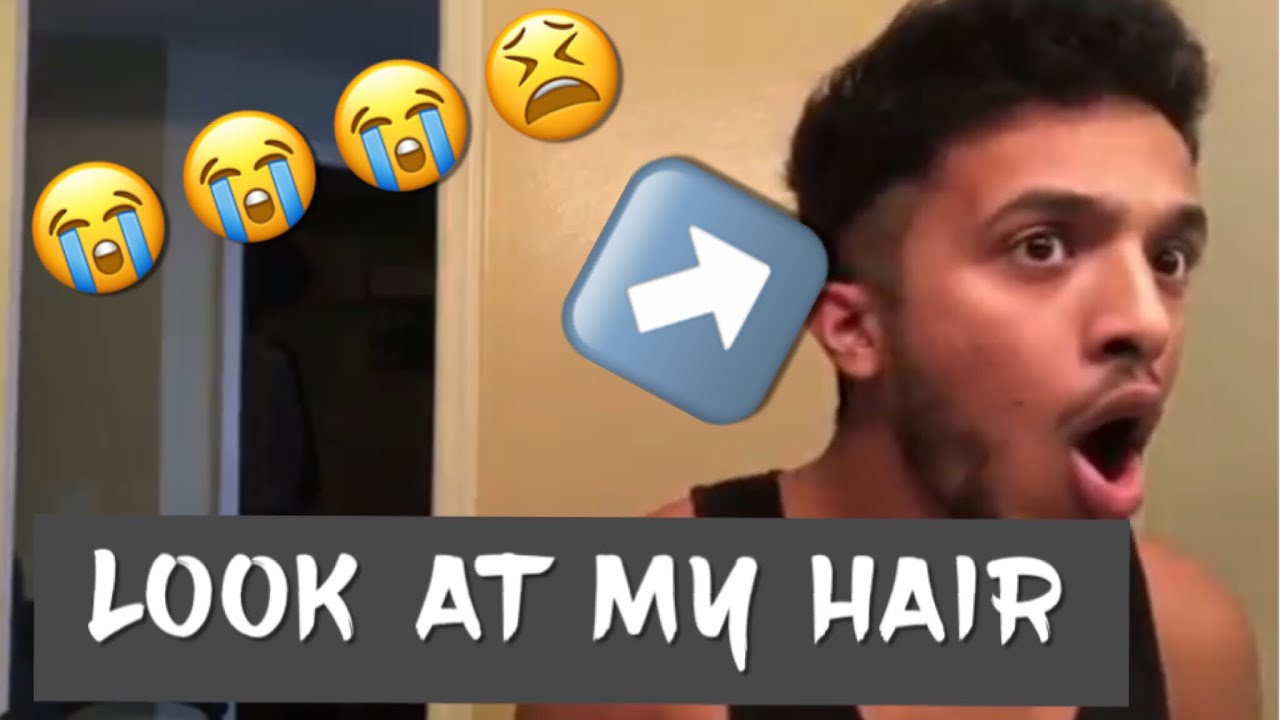
Let's be real for a second. Most of us have stood in front of a bathroom mirror, kitchen shears in one hand and a sudden burst of misplaced confidence in the other, thinking, "How hard can it actually be?" Maybe it was the middle of the night. Maybe you were just tired of paying eighty bucks for a trim that took ten minutes. But here’s the thing: giving yourself a haircut is either a triumph of self-sufficiency or a three-month lesson in the restorative power of hats. There is almost no middle ground.
The internet is full of "life hacks" that suggest you can just ponytail your hair over your forehead, snip the end, and walk out looking like a salon model. Honestly? That is how you end up with a "mullet-shag" that nobody asked for. Professional stylists like Brad Mondo have built entire YouTube empires just reacting to people who followed those specific shortcuts and ended up in tears. If you want to actually succeed at this, you have to stop treating your hair like a craft project and start treating it like a geometric puzzle.
The Gear You Actually Need (And No, Kitchen Scissors Aren’t It)
You can't cut hair with the same blades you use to open packages of frozen sausages. It sounds obvious, but you’d be surprised how many people try it.
Household scissors are dull. Even if they feel sharp to your finger, they are "crush-cutting" your hair fibers rather than slicing them. This leads to immediate split ends. You’ll look great for four hours, and then your ends will frizz up like a dandelion. You need shears. Specifically, stainless steel hair-cutting shears. You can find decent ones from brands like Equinox or Sanguine for under twenty-five dollars. It’s an investment that pays for itself in one go.
You also need a comb with fine teeth. Not a brush. A comb. Why? Because tension is everything. When you pull a section of hair between your fingers, it needs to be perfectly flat and evenly distributed. A brush creates gaps. Gaps create "steps" in your haircut.
- Mirror Setup: You need to see the back. If you don't have a three-way mirror, grab a hand mirror. Trying to "feel" your way through the back of your head is a recipe for a lopsided disaster.
- Sectioning Clips: Use those big plastic butterfly clips or "alligator" clips. If you try to cut your whole head of hair at once, you're going to lose your place.
- A Spray Bottle: Water is your friend, but only if you know how your hair reacts to it.
The Wet vs. Dry Debate
Here is a nuance most people miss: hair stretches when it's wet. If you have curly or wavy hair, cutting it wet is a gamble. You might take off an inch of wet hair, only to have it bounce up three inches once it dries. This is known as the "shrinkage factor."
For straight hair, wet is usually better because it keeps the strands together and allows for those crisp, clean lines. But if you've got texture, consider a dry cut. It allows you to see the shape as it forms. You’re essentially sculpting rather than following a blueprint.
Giving Yourself a Haircut Without Ruining Your Life
Let’s talk about the actual mechanics. The biggest mistake is cutting a straight horizontal line. Unless you want to look like a character from a medieval period piece, avoid the "blunt chop" at all costs.
Instead, you should be point cutting.
Point cutting is when you hold the shears vertically—pointing towards your fingers—and snip into the ends of the hair. This creates a soft, feathered edge that hides mistakes. If your line is a little crooked, point cutting makes it look intentional and textured. If you cut horizontally and your hand shakes, everyone within a five-foot radius will know.
The Mapping Process
Divide your hair into four main quadrants. Down the middle, then from the top of the head to behind each ear. This is standard cosmetology school stuff, but it works for a reason. Work from the back to the front.
When you're working on the back, bring the sections forward over your shoulders. This is where most people mess up. They tilt their chin down to look at what they're doing. Stop. If you tilt your chin down while cutting the back, you are lengthening the hair. When you stand up straight, that hair will be shorter than the rest. Keep your head level. Look straight into the mirror.
The Truth About Layers and Bangs
Bangs are the gateway drug of DIY hair styling. They seem so small. So manageable.
They aren't.
If you are cutting bangs, start much longer than you think you want them. Like, bridge-of-the-nose long. You can always take more off, but you can't glue it back on. Use the "triangle" method: find the natural point where your hair starts to fall forward toward your face. That's your apex. Anything outside that triangle belongs to the sides of your head. If you go too wide, you end up with "bowl cut" vibes that are incredibly hard to grow out.
The "Wolf Cut" and Modern Trends
Lately, everyone is obsessed with the DIY Wolf Cut or the "Butterfly Cut." These involve pulling your hair into one or two ponytails at the very front of your head and snipping the ends.
Does it work? Sorta.
It creates a lot of layers very quickly. But it also creates a very specific "V" shape in the back that can look thin or scraggly if you have fine hair. If you have thick, heavy hair, this technique is a godsend for removing bulk. But if your hair is thin, stay away from the ponytail method. You'll end up with three long hairs at the bottom and a mushroom cloud of layers at the top.
Common Pitfalls and How to Recover
Mistakes happen. Your hand slips. You get distracted by a podcast. Suddenly, the left side is a half-inch shorter than the right.
- The "Chasing" Trap: Do not keep cutting the right side to match the left, then the left to match the right. You will end up with a pixie cut you didn't ask for. Stop. Step away from the mirror. Dry your hair. See how it lays. Often, the "unevenness" disappears once the hair is styled.
- Over-texturizing: Thinning shears are great, but they are dangerous. If you use them too close to the scalp, you’ll get little "spikes" of hair that stick straight up through your longer hair. Only use thinning shears on the bottom third of the hair length.
- The Cowlick Factor: Everyone has a swirl or a cowlick. Usually at the crown or the hairline. If you cut a cowlick too short, it will stand up. You have to leave enough weight on a cowlick to keep it lying flat.
Maintenance and Long-Term Care
Once you've finished giving yourself a haircut, you need to seal those ends. Even with professional shears, a DIY cut is stressful for the hair. Use a lightweight hair oil or a silicone-based serum.
Also, realize that "dusting"—taking off literally just the deadest 1/8th of an inch—is a much better strategy for home maintenance than trying to do a full "transformation." If you want a brand-new style, go to a pro. If you just want to look less raggedy between appointments, the DIY route is totally valid.
Realistically, your first few attempts won't be perfect. That’s fine. Hair grows back at a rate of about half an inch per month. The goal isn't perfection; it's "good enough to go to the grocery store."
Practical Steps for Your First Time
- Buy the right shears: Look for 5.5-inch or 6-inch stainless steel blades.
- Wash and dry your hair first: See how it behaves naturally before you touch it.
- Start small: Aim to cut half of what you actually want to take off.
- Work in the morning: You need natural light and a brain that isn't tired from a long workday.
- Use the point-cut technique: Avoid horizontal chops at all costs to hide imperfections.
- Check your work in different lighting: Bathroom vanity lights are notoriously deceptive and hide "steps" in the hair.
If things go sideways, don't panic. A stylist can almost always fix a DIY mistake, but it's much easier for them to fix it if you haven't cut the hair so short that there's nothing left to blend. Keep it long, keep it textured, and take your time. You've got this.